Peanut butter is a delicious and healthy snack that many people can’t live without.
Commercial versions of the nut spread are heavily processed with additives, preservatives, hydrogenated oils, and other ingredients which you may not want to put in your body.
But if it is possible to make peanut butter at home? As long as the consistency is gooey and not drippy, then it should work in a blender. Just add peanuts to a smoothie or shake ingredient list. The blender will turn those peanuts into peanut butter in an instant!
There are many recipes out there for making nut butter and various types of spreads in the kitchen, but most of these require a food processor or high-powered blender.
The thing I love about natural peanut butter is that it has no added ingredients; just peanuts and salt! So can you really make smooth creamy peanut butter at home?
This post will explore the process involved in making your own homemade nut butter from scratch without using any fancy appliances.
Can You Make Peanut Butter In A Blender?

Yes. However, keep in mind that the blender will heat the oil and peanut butter up if you blend them very long.
The oils used in most commercial peanut butter are hydrogenated to make them solid at room temperature, but when blended they turn into a liquid because of the friction of blending.
But most people like peanut butter with more coarsely ground peanuts and an even consistency rather than a ‘spreadable’ consistency which is possible from using a food processor or ninja/Vitamix type blender without heating up some of the key ingredients by running it too long.
Setting The Expectations Straight
Just so you know, homemade peanut butter will never be as good as Skippy.
The homemade peanut butter will always have a different texture than the peanut butter you buy in stores.
You can add oil to help it be smoother and creamier, and a powerful food processor or blender will also help.
To make your peanut butter taste better, you can toast the nuts before blending them together.
This helps warm up the oil in the nuts and makes everything blend together more easily.
Homemade Nut Butter: My Personal Experience

I used to make my own peanut butter when I was a teenager.
It was fun and easy, really satisfying knowing that it came from the ground and not from some factory in China or something.
I would go down to the grocery store, buy fresh peanuts (usually raw), and then roast them at home on a skillet.
When they were done roasting, I’d put them in a Vitamix with some salt for flavor until it became creamy smooth peanut butter.
The whole process took about half an hour for 2 or 3 cups of peanuts; you can even do this while watching TV if you want!
How To Make Peanut Butter In A Blender?
To make peanut butter in a blender, you will need:
– Raw peanuts – the amount needed depends on how much nut butter you want to end up with.
– A high-speed blender (such as Vitamix) or food processor and an oil drizzle screen that is safe for hot liquids. This can be ordered from Amazon if not available locally at kitchen stores such as Williams Sonoma/Sur la Table etc.
– Coconut Oil (or another kind of cooking oil) – about 40% by volume of your total mix which should also include some salt and any other ingredients you might like to flavor it with such as honey, sugar, cocoa powder, vanilla extract, etc…
You’ll take raw peanuts (you can use roasted as well but the taste won’t be like peanut butter) and put them in your blender.
Peanut Butter Recipe
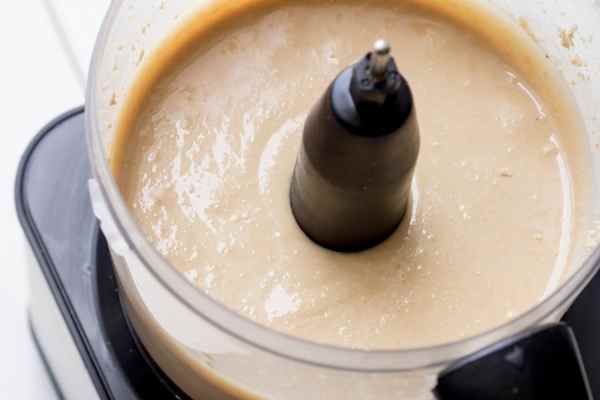
- Put about half of the volume (by weight) of peanuts into a high-speed blender, add some oil, and process until you see little clumps form. Add more nuts for thinner nut butter; less if you want it thicker or to achieve a different consistency. Blend just enough so that they stick together when pressed between fingers – don’t over blend! You might need to scrape down the sides with a spatula now and then during this step too.
- Once done processing/chopping up all your raw nuts, turn off the mixer blade and remove the bowl from the blender. Add the rest of your peanuts and process again for a few more seconds, until you can see clumps from within that first layer of nuts (it’s easier to achieve this if they are spread out in an even layer on the bottom).
- Scrape down sides as needed with a spatula and then add any oil or salt desired at this point. Process just enough so that oils coat everything evenly – don’t over blend! Remove blade from mixer and put the lid back on top of the container before turning it off to let the mixture cool slightly.
After about 15 minutes of total cooling time, stir well with a spoon or fork because all those luscious fats will have risen up to the top during processing.
Store in a container or jar with a tight-fitting lid.
Repeat the process every time you need more peanut butter! 🙂
Recipe Notes
You can also use nuts that are pre-toasted. I like to toast them just a little, and then put them in the oven to warm them up. That way the oils loosen up better.
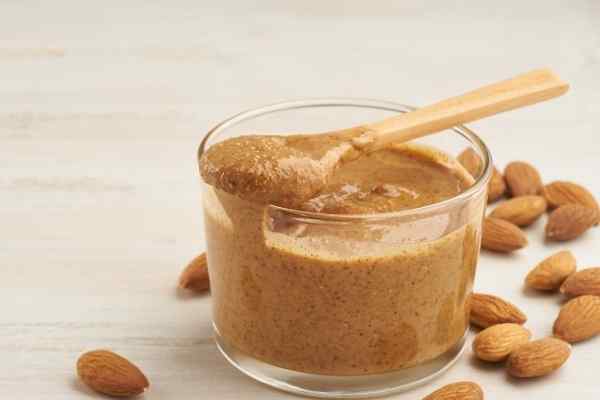
You can make almond butter, pistachio butter, or any other kind of nut butter in the same way. You just need to substitute nuts you like instead of peanuts.
With this technique, you can make more or less peanut butter. I usually end up with less peanut butter (for example, 2 cups of peanuts turns into 1 1/2 cups of peanut butter).
To keep the peanut butter fresh, put it in a sealed container. Keep it in the refrigerator for up to several weeks.
Tips
The reason that many people have a hard time making peanut butter in the blender is due to not giving it enough time to process and cool.
This can also be caused by over-processing, which will cause the oil to separate from the nut mixture.
If you are using unpeeled nuts and want them finely ground, simply put them through a meat grinder or use a food processor with sharp blades before starting this process.
You may notice some liquid separating at the bottom of your container as it starts cooling off – pour into another jar if desired! Always do your best while cooking:)
Why Is It Not Recommended To Use A Regular Blender?
Blenders are not particularly good at grinding peanuts because most of them don’t work well below 400 watts.
A food processor can easily go up to 2000 watts and will have no trouble grinding peanuts into peanut butter, or any other ingredient you put in the bowl like chocolate chips or oatmeal…so if you have some cheap blender on your kitchen counter, that is likely your answer and it will take a while.
However, if you want to grind a lot of peanuts there are choppers out there that might be able to do the job much quicker than a blender- I’ve seen nice manual models with little plungers going up and down as they blend everything!
Here are our top picks for blenders for making nut butter.
Final Verdict: Can You Really Make Smooth, Creamy Peanut Butter in a Blender?
Many people have trouble making peanut butter at home; but is there really an easier way to do it than the old-fashioned method of putting them through a food grinder or blender? 🙂
There are many different ways that can work for you – all depend on your personal needs. If you want to make smooth and creamy nut butter with minimal effort, then this article will show you how simple it can be!


