If you’re looking for a way to crush ice without a blender, then this article is for you.
We’ll cover all of the methods that are out there and explore their pros and cons.
Some are easier than others, so it will be up to you which one best suits your needs.
Here are five easy ways to crush your own ice without having to use a blender – A Lewis bag and mallet, cocktail shaker, plastic bags with rolling pin or manual crusher- these objects can be used in place of the traditional appliance for crushing those cubes into smaller pieces quicker than ever before!
The best way to make crushed ice without a blender is by crushing it up fast.
This will help ensure that the ice doesn’t melt before you get the chance to consume it, so learn how else!
If you have more time and want your drink cooler than ever before, here are five ways on how to create great-quality crushed iced.
5 Ways To Crush Ice Without A Blender
1. Lewis Bag And A Mallet
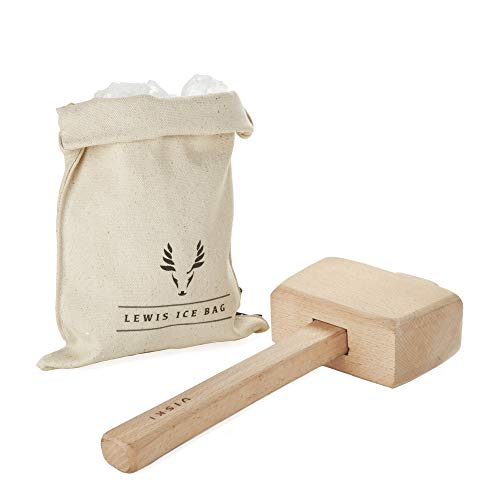
One of the most common ways to get crushed ice is through a Lewis bag and mallet.
Often seen in bars, professional chefs will use this method for dishes or drinks.
The canvas bags are porous so if you’re making something that requires chunks of ice like an iced coffee, it would be best to make sure your countertop has been protected from any moisture beforehand by using a cutting board during preparation which can then just be thrown away after!
The downside to this method is that it can be time-consuming, and the ice will likely get wet from being wrapped up in fabric or paper towels for a while before you use your mallet on them (which means they’ll melt faster).
1. Place the ice cubes in a Lewis bag and seal it tightly. The size of your ice cube does not matter, but make sure all of them are around the same size to get better results.
2. Make sure to take out enough ice from the freezer as you will typically need more than you would normally expect. Remember that crushed ice is much smaller than regular cubes, so make about a third or twice as many for your needs.
3. Place the closed end of your Lewis bag on top of those two ice cubes and roll it up.
4. Place the Louis bag on any surface you are comfortable with. Take your hand and fold the open end of it over 2 times so that there is now a closed edge to secure what’s inside, making sure not to pull too tightly as this could stretch out or rip the material.
5. It’s important to use your non-dominant hand when holding the Lewis bag with a hammer in order for it not to fly out of your hands. Make sure you’re using glasses or goggles, which are recommended during this process as well. Place one mallet on top and then proceed by hitting the ice repeatedly until it’s crushed into small pieces that will fit inside the bags more easily. You’ll want to work quickly because if you don’t hurry up, all those little bits of broken ice can melt before they make their way back home!
6. If you don’t have a mallet or hammer, the best alternative is to use any heavy object. A meat tenderizer works well too if it has a handle and can be easily suspended from above so that gravity does most of the work for us. You could also place your bag inside another plastic freezer one with handles like Lewis bags in order to prevent wetting up countertops while pounding on them as well during this step!
7. If you want to make a refreshing drink, it’s important that your ice cubes are crushed. So take an old-fashioned hammer and break up those big chunks of frozen water! If there are still any large pieces in the bag after all this hard work, just shake it around until they’re gone.
Remember, time is of the essence! So that means you need to smash up your ice as quickly as possible.
Over time, you will find that smashing it faster doesn’t necessarily make better-crushed ice because it all comes down to how consistently sized chunks are and if they’re large enough.
But with practice, everyone gets their own technique in regard to this step so experiment a little bit before settling on one particular strategy or another for creating quality crushed ice.
2. Cocktail Shaker
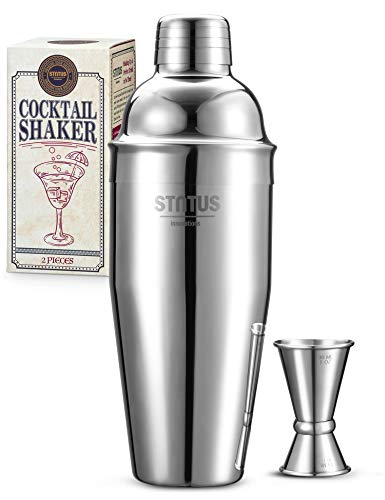
A cocktail shaker works well if all of what’s needed are crushed ice.
Simply fill it with ice, then shake the shaker back and forth until you’ve achieved your desired consistency of crushed pieces that are small enough for whatever needs they’re going to be used in (like a cocktail).
- To make your cocktail, take the ice cubes and put them in a shaker. The best way to do this is by filling it halfway with about ten or twelve of these tiny bits of frozen water. Tossing the cubes into your glass as soon as you get out them from their freezer will stop any melting that could happen before they are served!
- For the next step, make sure that you are placing your shaker on a hard surface like your counter. With one hand holding it upright and steady in place, use another to give it two quick taps with some force against the base or bottom of the container.
- After you shake the drink, it’s important to let go of any excess air by shaking your hand in the air. If there are too many ice chips for your liking, tap on a hard surface and then continue shaking until the desired size is reached–about 20-30 seconds should do it!
- Continue to break up the ice cubes into smaller pieces until they are small enough for your liking.
3. Plastic Bag And A Rolling Pin
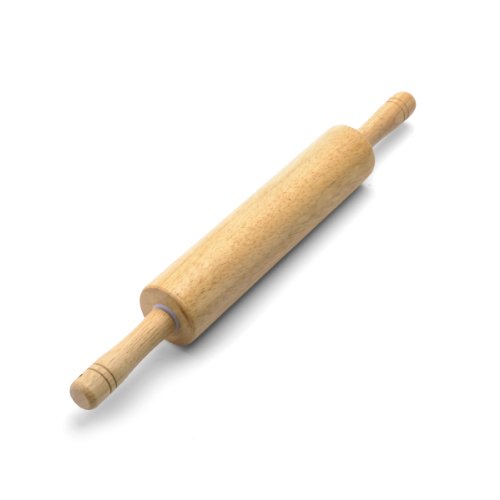
A plastic bag and rolling pin work well if all that’s needed are small, fluffy pieces of iced (like in an Iced Tea).
Simply fill up your zip-top freezer bags with water or tap cold running into them from whatever container you’re using until they’re about halfway full.
Then, seal the bag and roll it back-and to forth with a rolling pin until you’ve achieved your desired consistency of crushed ice pieces that are small enough for whatever needs they’re going into (like an Iced Tea).
- Place your ice cubes in a resealable bag. This is done by removing the frozen water from its original packaging and placing it into an air-tight container, preferably made of strong polyester or plastic material to avoid splitting during this process.
- Seal that sucker shut, then pop it in the freezer for about two to three hours.
- Next, place the bag in a sink with hot water for about 10 seconds. The heat from this will help when it’s time to break up the ice chunks.
- Now use a rolling pin to gently flatten the bag of ice until it’s about ¼ inch thick.
- If you don’t have a rolling pin, you can also use some other heavy object like a mallet or meat tenderizer to crush the ice.
4. Manual Ice Crusher

A manual crusher can be made with just two pieces of wood and some rope, or you could buy one from an outdoor store if that’s your preference.
- Place the ice cubes in your crusher. Most have a hole at the top, and you may need to place them strategically so they don’t fall through before getting crushed!
- Use the ice cube reservoir to hold your frozen cubes as you create drinks. Pour in water and close it up for safety once they are ready.
- Next, you will need to grab the lever and turn it in a clockwise motion. If your model is expensive this should be simple for you. I have an old-school ice crusher so sometimes I use more force than others when crushing the cubes of ice inside if my arm gets tired quicker because mine isn’t as nice.
5. Use A Muddler
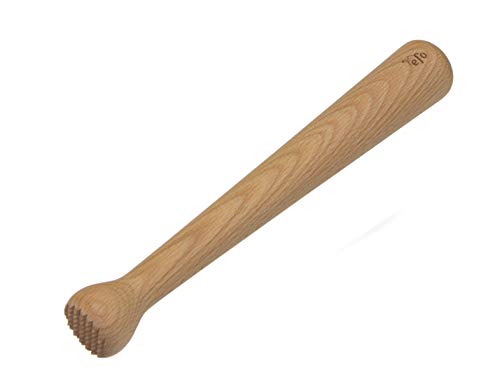
A muddler is a tool that can be used to crush ice. It was originally designed for making cocktails, but it’s also great for crushing ice cubes as well.
A muddler is made up of a handle and a head with spikes or ridges on the end.
You typically use the flat side of the head to smash down on something like an ice cube, which will cause it to crack into smaller pieces.
Muddlers come in all sorts of shapes and sizes, so you’ll want to pick one out that best suits your needs based on where you’ll be using it most often (cocktail party vs home).
1. Place ice cubes in a glass.
2. Fill the glass with water to cover the ice cubes.
3. Carefully place the muddler on top of the ice cubes and press down firmly, moving it back and forth until all of them are crushed.
Want to use a blender for crushing ice? Here are our top picks.
Can You Use A Food Processor To Crush Ice?
No, you cannot use a food processor to crush ice. The blades are not sharp enough and will just turn the cubes into slushy water instead of crushing them down for your drink or cocktail recipe!
Difference Between Crushed Ice And Shaved Ice
Crushed ice is a type of ice that has been crushed into small pieces. It’s often used in drinks, like soft drinks and cocktails.
Shaved ice is a type of ice that has been shaved off blocks or slabs of frozen water, then put into an iced bowl for serving.
Uses Of Crushed Ice
1. Ice cubes are used to make cold drinks.
2. Crushed ice is often used in cocktails, such as margarita and daiquiri.
3. It can also be used for a variety of other purposes, including: as an ingredient in some desserts or baked goods (such as key lime pie) or to keep food chilled during transport.
Crushed Vs Cubed Ice: Which One Lasts Longer?
Cubed ice lasts longer because it takes more time to melt. Crushed ice melts faster because of the small surface area. The best way to keep your drink cold is by using a combination of both types of ice.
Final Thoughts
Ice is a necessity in the summer, and it’s important to know how you can use ice without having access to or owning a blender.
This blog post explores the various ways you can use ice without a blender.
We started with Lewis bags and mallets, then moved on to cocktail shakers (which are great for making margaritas), plastic baggies & rolling pins as well manual crushers like muddlers or even food processors!
We also explore the question of whether or not you can crush ice in a food processor.
The post concludes with final thoughts on crushed vs cubed ice, and what is best for keeping your drink cold this summer!