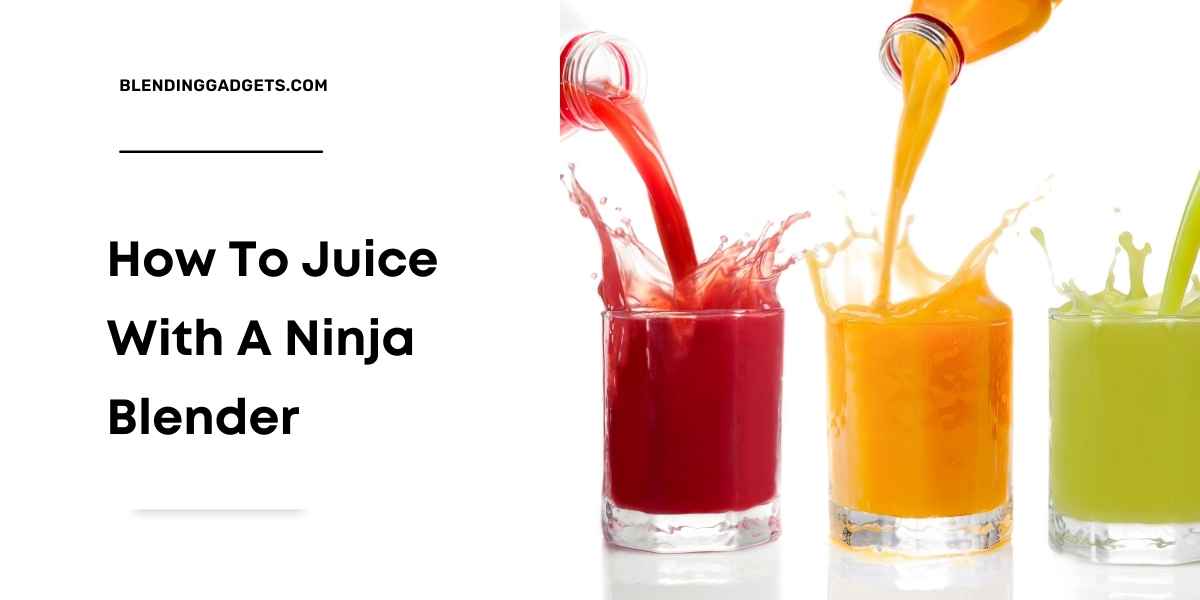
Juicing has grown in popularity over the years and now we know why.
It’s not just for weight loss! Juicing can provide you with tons of nutrients per day, and it doesn’t take too long to make your favorite juice concoctions.
A Ninja blender can help make juicing even easier, so in this article, we’ll explore some tips on how to use a Ninja blender to juice.
These tips will be helpful for those who are new to using a ninja or those who want some fresh ideas for their juices that they already like.
We’ll also cover what type of fruit you should buy and how much water should go into the blender as well as steps on how to store your finished product correctly if you’re going away from home (or want to drink your juice later).
Can You Make Juice In A Ninja Blender?
Yes, you can! There are some slight differences in using a Ninja blender to make juice.
The main difference is that you won’t need as much water with your juices because of the ninja’s power and blades.Â
You’ll also need to hold down the products in your ninja for a little while longer because of this.
Related Read: How To Use A Ninja
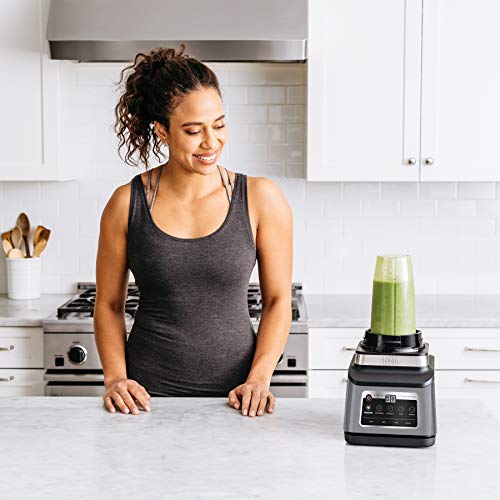
How To Use A Ninja Blender To Juice – 5 Easy Steps
1. Wash and Prep Your Fruit
First things first: make sure you wash and prep your fruit!
You’ll want to rinse (or give them a good scrub) and cut up all your fruits before putting them in the ninja so that they are easier to blend.
Even if the skins are supposed to be peeled off, try not to remove it because it provides extra fiber for your drink.
You can even leave seeds in some fruits like raspberries or blackberries if you wish. Be cautious with seeds though!
If there are too many of them, then they might get stuck in the blades instead of blending into your smoothie.
The same goes for pips from berries or harder skinned fruits like kiwis – be cautious with those as well.
If you want to peel them, make sure not to waste the fruit by throwing away the peels!
2. Wash and Prep Your Vegetables
Just like with your fruits, make sure you wash and prep your veggies as well.
Try not to peel or cut up too many vegetables (unless that’s what they’re meant for), because it’ll taste better if some parts of the veggie are still intact in the blender – especially when they’re meant for juicing!
This will also help give your juice its rich color. Just think about how a blueberry looks next to its stem… it’s so pretty, isn’t it?
Plus, if you leave some parts of the vegetable intact, then more vitamins will be preserved in your juice!
You can even blend in some of the stems or peels if you want. Or, if the taste is too much for you, consider juicing it with another fruit to make a ‘smoothie’ type drink out of it!
3. Fill It Up
Now that everything is washed and prepped, fill up your blender container with all your products!
For fruits, start off by filling 1/4th – 1/2 of your container with fruits so that there’s room for it to blend and mix well.
Then add water until the water reaches about an inch below the top of the fruit (without going past it) so that it doesn’t get stuck inside and won’t overflow once it starts blending.
For veggies, start off by filling about a 1/4th of your container full with them, then add water until it reaches an inch below the top of the rest of your vegetables.
4. Blend!
Now that you have all your ingredients in the right place, it’s time to blend!
In order to get the best results from using a Ninja blender for juicing, make sure to cover and hold down each part of your fruit or vegetable so that they get blended properly.
Hold down the piece closest to you while pressing on it (if applicable) with your hand (make sure not to cut yourself!) and blend at around 60% power (or 10 if you’re using pre-programmed settings in the ninja!).
Hold down the middle piece (if applicable) with your hand and blend at around 60% power (or 10 if you’re using pre-programmed settings in the Ninja blender).
Then, once that’s blended properly, hold down the last part of it so that everything gets blended together. Blend at 60% power!
If there are any seeds or lumps left in your drink, don’t worry! Just strain them out with a strainer so that you can enjoy your tasty juice without any chunks!
5. Store It And Enjoy!
Once everything is done blending to perfection – if there were any chunks left in it, they should be gone now – just pour yourself a glass and enjoy your freshly-made juice!
Now that you know how to use a Ninja blender for juicing, don’t let all the health benefits of juicing slip by! It’s an easy and fun way to add more nutrients into your diet while also having something delicious to drink throughout the day.
| Title | Buy |
|---|---|
| TopNinja BL770 Mega Kitchen System | Check Price |
| Ninja BL660 Professional Countertop Blender | Check Price |
| Ninja BN801 Professional Plus Kitchen System | Check Price |
| Ninja Personal Blender for Shakes, Smoothies | Check Price |
| Ninja BL610 Professional 72 Oz Countertop Blender | Check Price |
Will A Ninja Blender Make The Best Juice?
Undeniably, a ninja blender will make your juices more creamy and smooth than a juicer because it has blades that can blend everything to perfect consistency.
Related Read: Can You Use A Ninja As A Juicer
How Long Does Your Finished Product Last In A Container?
Fruit juice lasts on average about 24 hours in an airtight container while vegetable juice should last about 3-5 days in the same container.
Can You Add Ingredients To Your Juice?
Yes, you can add ingredients to your juice as long as they’re not too tough for your ninja blender’s blades to handle.
Some examples of good additions are:
- Greens such as kale and spinach
- Hot peppers such as jalapenos
- Ginger root
- Carrots
- Avocados if making a green juice only – remove the skin before adding!
- Raspberries (no seeds)
- Lemon or lime for a citrus flavor without adding any pulp.
- Cucumber to make watermelon juice – this is wonderful during the summertime!
- Honeydew, cantaloupe, and other melons will also blend well with fruit juices.
What Are Some Tips For Making The Best Juice?
Some tips for making the best juice are:
- Wash all produce before adding it to your blender.
- If you’re blending protein powder of any kind into your juices, wait until it’s finished instead of trying to add it earlier so that you don’t have lumps in your drink.
- After juicing is finished, enjoy it immediately if possible! Letting your juice sit too long will cause it to lose some nutrients, so drink up within the first 24 hours if possible.
Frequently Asked Questions
What About The Pulp?
Some people like having some pulp in their finished product, while others prefer it to be totally smooth.
If you’re adding an orange or grapefruit to your juice, try squeezing the fruit before putting it into your blender for extra pulp.
If that’s still not enough, you can use a strainer when pouring your juice into your air container – perfect if you want more of a citrus flavor!
How Do I Store My Juiced Ingredients?
After blending is complete, pour your juices into an airtight container and refrigerate until ready to enjoy.
For best results, drink within the next 24 hours after making it fresh. You can also freeze juices in airtight containers and enjoy them later.
How Do I Clean My Blender?
To wash your Ninja blender, simply add a drop of dish soap to the bottom of the container where you add water and fill with warm water.
Turn it on for about 30 seconds while running warm water over the blade part on top.
This will remove any stuck-on food particles and leave your blender clean and ready to be stored!
Do Ingredients Need To Be Peeled Before Adding Them Into The Blender?
For most recipes, no peeling or chopping is necessary before adding ingredients into your Ninja blender’s container! Sometimes some produce such as carrots will require peeling before blending but it depends on what kind of juice you’re creating.
Experiment with different recipes and have fun while drinking your daily servings of fruits and vegetables!
Do I Need A Specific Ninja Blender To Juice?
No – any Ninja blender will work! However, if you’re not sure how to use a ninja blender and want to learn the basics before making your own juice, just do a quick Google search or check out YouTube videos that show you how to make different recipes with your specific model of ninja blender.
Related Post: How To Make Apple Juice In A Ninja Blender
How To Juice With A Ninja Blender – Wrap Up
Juicing with a Ninja blender is not only easy, but it’s also healthy for your body.
Try making some juice the next time you have free time to enjoy or give as a gift to friends or family who want an alternative beverage to soda or other unhealthy options!