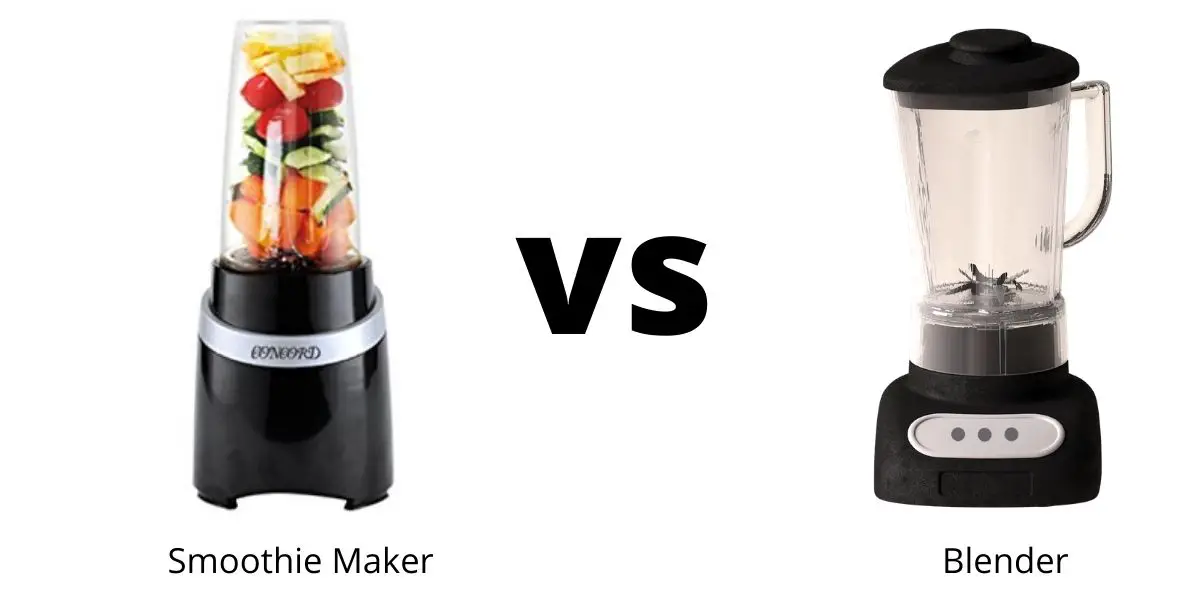
If you want to replace your blender blade, it’s important to know what type of blade is on your existing blender.
Blenders with a continuous-feed system will have an S-shaped shaft that runs the length of the jar and has one or two blades at the bottom. The newer models may also have a hole in the center of each blade for better blending.
Blenders with a batch feed system will have just one long slot near the top for inserting ice cubes or larger pieces of fruit. Models with this design typically come with three blades, while others may use four or more blades instead.
The most common type of replacement blade are “crossed” blades, which are shaped like crosses when viewed from above and located on the shaft at an angle of about 45 degrees. These blades are typically made from stainless steel or plastic, with slots for blending ice cubes and citrus fruits. Some brands may also have a hole in the center of the blade to blend thicker ingredients better.
How To Replace A Blender Blade
1. Know Your Blender
If you have a continuous-feed blender, the blade will most likely be held into place by a metal collar that extends from the bottom of the jar to the top of the motor base.
To remove it, loosen the collar and turn it counterclockwise until it stops, then pull straight up on your old blade before setting aside or replacing with new one. If this doesn’t work, check whether there’s a hex screw holding down the base of your blade.
Blenders with batch feed systems require more effort as they will need to be disassembled first using a hex screwdriver before you can replace their blades.
2. Choose Your Replacement Part
The ideal replacement part should not only fit your existing blade’s dimensions but also be made of the same material.
3. Remove Old Blade – Check The Type Of Shaft Before Buying New One
As noted earlier, most blenders will have a continuous-feed system that holds its blades in place using metal collars at the bottom and top of their jars.
To remove these types of blades, turn the collar counterclockwise until it comes off, then slide out your old blade before replacing it with a new set.
To make sure you’re getting your hands on the right replacement part for your blender, check if there’s an S-shaped shaft running along the length of its jar or just one long slot with short teeth sticking out from it.
Remove the old blade by loosening its collar and turning it counterclockwise until it stops, then pull upwards to slide it out.
4. Prepare Your Blender For New Part
You need to make sure that the replacement blade you’re about to buy is made for continuous feed systems, batch feed systems or both. If your model is a continuous-feed system, ensure that the blade’s slot will match up with the main shaft in order to keep everything firmly in place.
If you have a batch feed blender, look for blades with teeth that are shorter than half an inch or longer than 3/ 4 inch. You can also use adjustable nuts if needed.
Remember to read your manual first before changing any parts to ensure safe operation.
5. Place Blade In Position For Replacing It
If you have a continuous-feed blender, place the new blade inside the slot on your existing main shaft.
Take note of the orientation of the blades, which are typically held at an angle of 45 degrees or less when they can still spin freely – if yours stick out further than this, flip them around until they fit right.
Make sure that it fits snugly without falling off and is held onto its shaft with enough force to blend ingredients smoothly but not so hard as to damage any part of your blender’s motor base. If you’re using adjustable nuts or screws, then tighten them to hold your blade in place before you reinstall it.
6. Put The Collar Back On
Put the stop collar back onto the opening at the bottom of your jar, turn it clockwise to keep it locked tightly in place and use screws if needed for additional force.
7. Know How Much To Tighten Or Loosen Your Parts
If you have a batch feed blender, carefully line up each part with its intended entrance point inside the jar, then tighten them using hex screwdrivers.
Some models may need adjustable nuts instead, so just loosen or tighten them as required until everything fits snugly without any gap between moving parts that could cause backlash during blending.
8. Test The Blade And Make Adjustments As Needed
Your old blade may need to be loosened or tightened before it can work properly with your newly installed part. If there’s a hex screw holding down the base of your blender, loosen it first by turning counterclockwise until it comes off and then tighten again if necessary.
Replacing one part will not necessarily fix all blending problems, especially if you’re expecting too much from your new replacement blade without having balanced everything else beforehand.
As such, read up on what causes smoothies to go wrong so that you know how to spot which component needs adjusting for smoother results next time round.
If you’ve replaced your old blade with one that has more teeth, then try reducing the speed of your blender first before adding in new ingredients to help it adjust. If not, then readjusting its collar may be necessary for optimal blending.
If there’s no change after tightening or loosening blades on both sides again, then contact the manufacturer of your model so they can work out what went wrong and provide more support for next time around.
You can either do this by phone or send them an email with any problems you’re having so far – although most companies will also give online support options too if calling isn’t convenient for you at this time.
How Often Should You Replace Blender Blades?
You can expect to replace a blade in a batch-feed system every six months or so.
Constant use over time usually wears down the teeth of a blender’s blades, which starts affecting how well it blends ingredients together and the quality of your final results.
If any part is wearing out based on this kind of timeframe without having been replaced yet, then you need to know that there are potential dangers involved with keeping old parts in place instead of changing them all when they’re needed.
Blade points may not be retractable like knives either, meaning that they could cause cuts if they’re kept loose enough for long periods of time without being replaced. They also tend to get blunt over time too due to constant exposure to friction from ingredients, which can also cause injuries.
Consult any troubleshooting guide for your blender’s model number before contacting the manufacturer about problems caused by using an outdated replacement part – most companies will ask you for some kind of proof before they’ll offer support.
If no change occurs even after changing out all parts involved in your setup, then contact them for further help on how they could improve their products.
How Can You Tell When Blender Blades Are Past Their Prime?
Blades tend to wear down over time due to constant use, which means they’ll start to dull and get blunt easily. They also degrade in quality over time if you don’t clean them properly between blends, making your results less effective with each blend session.
If you’re using a standard blade rather than an industrial one on weaker machines designed for home use only, then it may not be made from food grade materials that are safe for human consumption.
Check the composition of your blades before throwing them out or recycling – some blades contain toxic chemicals that cannot simply be washed off under water due to how some substances bond together with others at a molecular level.
It’s best to avoid touching them when this happens unless gloves are available involved instead, so wear protective gear if necessary.
You’ll also want to find out whether or not your blades are dishwasher safe before putting them in the machine, because some won’t survive this process without being damaged.
However, it’s best to be cautious about using any of these products if you have a history of health conditions that could worsen when exposed to certain foods – additional support is available online for finding out more about their safety standards and what you can do instead if they aren’t suitable for your needs.
Commercial units made by reputable brands will typically offer more help than most other companies on how to keep their products in good shape when used safely in line with what manufacturers recommend.
Buy Blender Blade Replacement Parts Online
| Title | Buy | Image |
|---|---|---|
| Ninja Blender Blade | Check Price |  |
| Oster Ice Blade, Black - 4961-011 | Check Price | 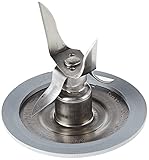 |
| NutriBullet Extractor Blade .60 Lbs, Grey | Check Price |  |
| Vitamix Wet Blade Assembly | Check Price | 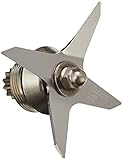 |
| Hamilton Beach Blade | Check Price |  |
Conclusion: How To Replace A Blender Blade?
Checking your blades for any signs of degradation before using them again is the best way to tell if they’re worth using – replace them with a quality part when you find out that yours are worn down over use.
Properly clean all parts involved in your setup before and after each blend, and be careful about storing it if you notice any damage to the blender itself as well.
Store it somewhere dry and cool whenever possible, and don’t expose it to certain toxins that will degrade their composition even further before adding replacement parts back into your device to keep it running smoothly.
Related Posts