The Vitamix drive socket is a part inside the blender that, when it fails, can stop your Vitamix from working.
It is important to know how to replace your drive socket so you do not have to buy a whole new blender.
This blog post will discuss what you need in order to replace Vitamix drive socket and get back on track with blending delicious concoctions!
One of the most common problems that you can experience in your Vitamix Blender is a worn-out drive socket.
This means the blender’s blade assembly won’t spin correctly and you’ll end up seeing issues like clumps in your shakes, or vegetables not getting blended properly.
Why Is The Drive Socket So Important?
- Check the condition of your socket drive every 3-4 months
- Make sure the teeth are sharp and in good working order
- Kit includes instructions
- Allen wrench included
Blender drive sockets are the piece that connects the motor to the blender jar. This is a crucial part of any blender, and it must be in good condition for your machine to function properly.
How To Identify That The Issue Is With The Drive Socket?
One way you can tell it’s the drive socket and not that the motor isn’t working right is by turning on the blender and watching for whether or not the blade spins when activated.
If the motor is running but the blades are not spinning, the issue is with your driver socket.
What Can Cause The Drive Socket To Fail?
If your driver socket is not working properly, there could be many different causes.
One of the most common ones would probably be that you’re putting a container on or taking it off of the motor before or after it has stopped spinning.
Another potential cause maybe if some kind of foreign object got stuck in your container and prevented the blade from rotating like normal – this can happen very easily with hard foods such as nuts for example!
In order to get better performance out of any appliance, one must always make sure they have taken care when using its blades by following these simple rules: Always keep containers clean; never put them onto an operating machine while running, and do not remove a full container until its contents are fully extracted.
If you happen to take your Vitamix blender out without the centering pad, then it’s possible that you’ll grind down all of its teeth.
It could happen that when trying to tilt the container around and move ingredients while it’s running.
Even though a lot of people think they’re doing nothing wrong by moving their food as fast as possible, this can cause damage to the driver socket.
For anyone who has a Vitamix blender, it’s important to know that if you don’t use the correct part of your drive socket can wear out.
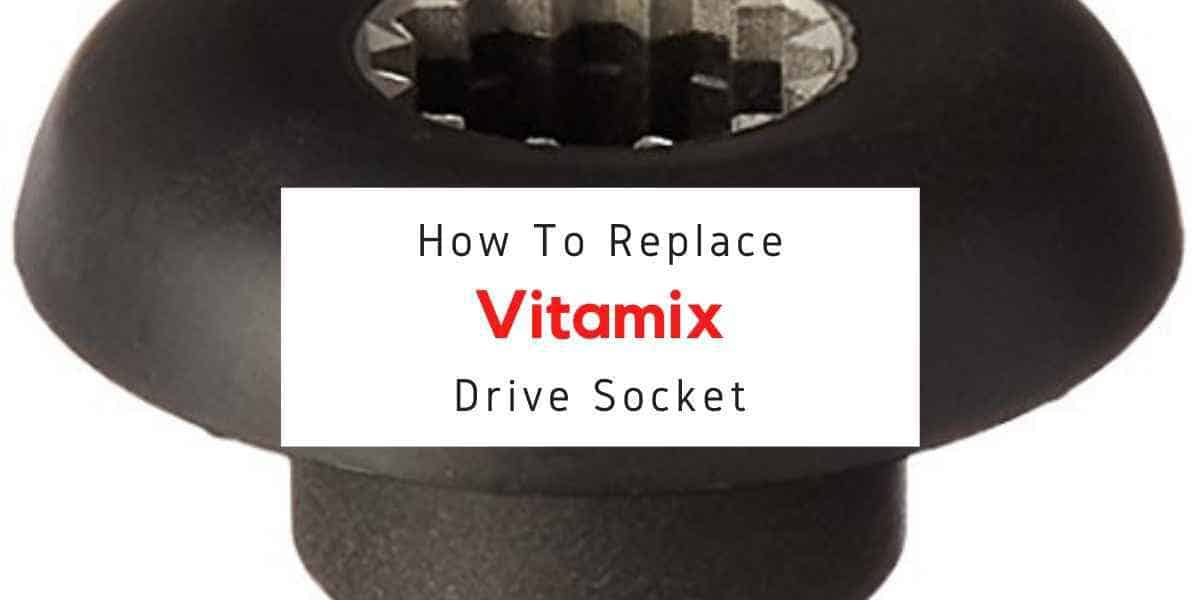
How To Replace Vitamix Drive Socket
Follow these steps for Vitamix drive socket replacement –
1. So the first thing first- Be sure to unplug and turn off your Vitamix blender before you do any maintenance on it.
2. You’ll want to remove the blender container before you start. It’s easy! Once it is out, just pulls up on the center pad, and that screws off too!
3. On the drive socket, you will find a hole that leads to where your blade is attached. On top of this are two markings: Vitamix and an arrow pointing downward.
4. When you get the arrow lined up correctly, all that’s left is to insert your 5/64 Allen wrench in at a 45-degree angle and turn it right or left. This will pop out the drive socket!
5. If the drive socket is difficult for you to remove, do not worry! There are other tools that will help give it leverage so it pops right off. A common tool would be a flat head screwdriver which should work just fine in most cases where there isn’t anything obstructing its way.
6. Carefully place your new drive socket into the square hole in the housing and make sure that it is lined up correctly with Vitamix’s arrow. You should be able to slide it all of the ways through until you can see a little bit of bolt sticking out on either side, which will then tighten down securely around whatever part we’re trying to fix at this point.
7. You will want to tighten down on those two bolts as hard or tight. One thing I found out is if it’s not tightened enough then Vitamix can still have issues with spinning because of uneven pressure applied by these parts in comparison so make sure they are nice and tight.
8. This is a tricky step because it only goes in one way. To do this, grab your 5/64 Hex wrench and adjust the top of it to 45 degrees so that you have room to fit inside. When you are positioned properly, just peel back your rubber centering pad over the drive socket.